Howto13r1:Create a second Voicemail: Difference between revisions
Jump to navigation
Jump to search
No edit summary |
|||
| Line 21: | Line 21: | ||
[[Image:Voicemail3. | [[Image:Voicemail3.PNG]] | ||
| Line 29: | Line 29: | ||
[[Image:Voicemail5.png]] | [[Image:Voicemail5.png]] | ||
==Troubleshooting== | ==Troubleshooting== | ||
Revision as of 12:02, 24 April 2020
Applies To
This information applies to
- v13r1 and up
More Information
This article describes "How to create a second Voicemail" for the same language. If you just want to create a voicemail in another language than you can use our Installer.
Configuration
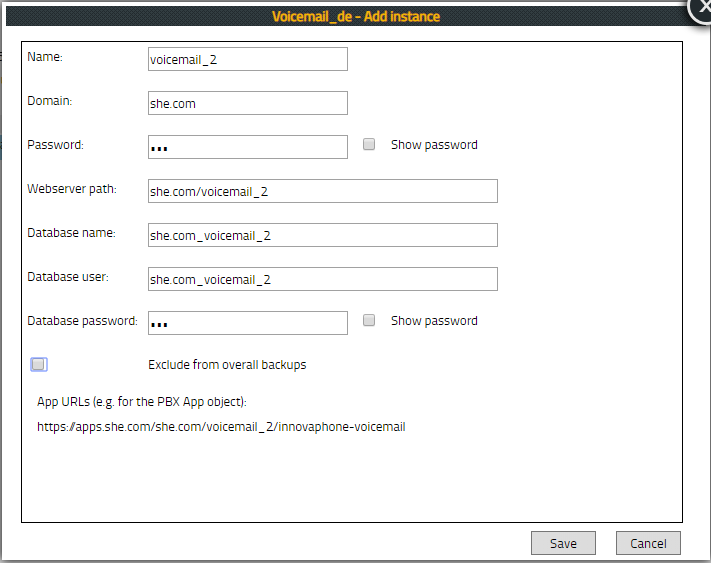
1.Create a new instance via our "App" App.
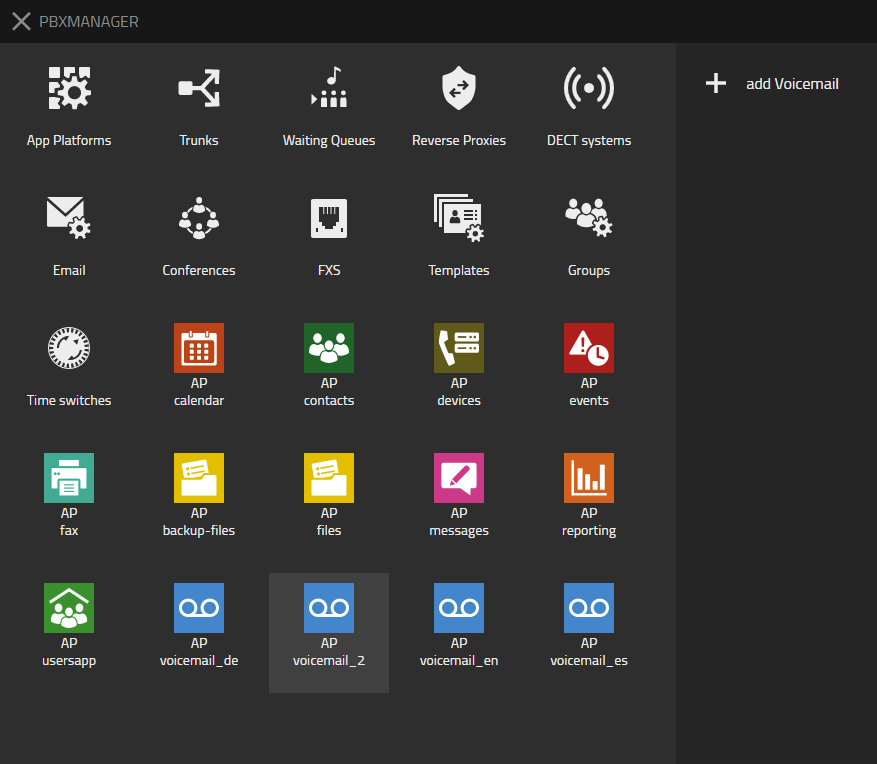
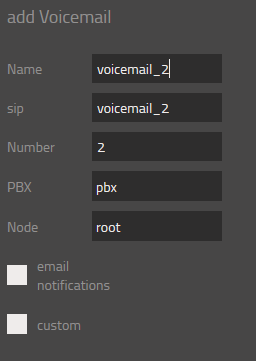
2. Add voicemail
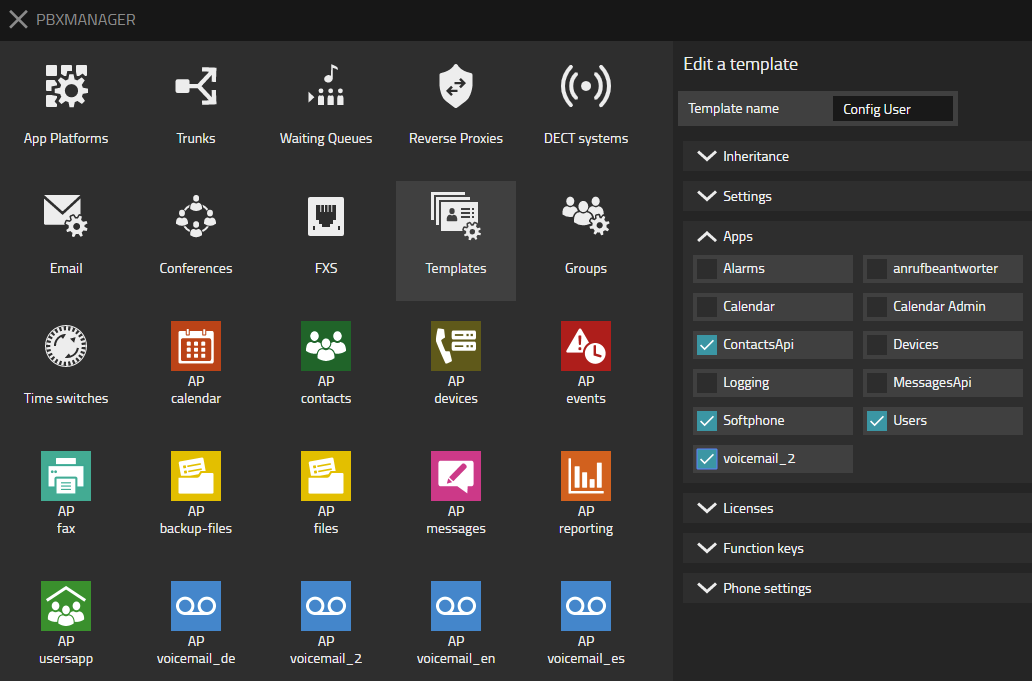
3. Attach Voicemail to your Config template
Troubleshooting
No access possible
It is important to know that by adding a Voicemail Object via PBX Manager the passwords will be set again.
Solution is to set all passwords again afterwards:
- Voicemail AppObject (via Advanced GUI)
- Instance password
- Services/HTTP/Client
Alternative: check out the password via Webconsole and insert it in Services/HTTP/Client


