Howto:XCAPI: Difference between revisions
mNo edit summary |
|||
| Line 1: | Line 1: | ||
{{Template:3rd Party Input}} | <!-- {{Template:3rd Party Input}} --> | ||
==Applies To== | ==Applies To== | ||
This information applies to | This information applies to | ||
Revision as of 15:41, 28 November 2013
Applies To
This information applies to
- Configuring the XCAPI with the innovaphone Gateways and innovaphone PBX
Introduction
This document is intended to support you with the integration of the XCAPI (version 3.3.226.0) into an existing environment of current innovaphone gateways (Version 6 and following). In the following sections we describe the essential steps of configuration to allow for optimal cooperation of both the XCAPI and the innovaphone PBX/gateway. At this point, we suppose that the innovaphone PBX, the hardware the XCAPI is running on and both the XCAPI and your CAPI applications are already installed properly. For some extended information on installation procedures please refer to the respective manuals. A short installation manual for the XCAPI is available at the XCAPI Homepage (http://www.te-systems.de/community/index.php?L=0).
SIP
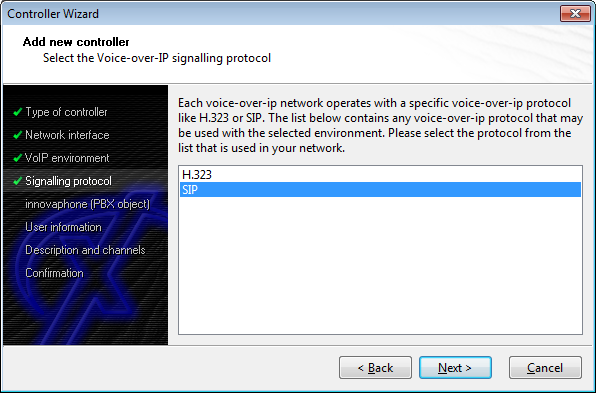
Using SIP is the recommended protocol to connect innovaphone and XCapi.
Configuring the innovaphone gateway
In this example, we are going to use one PBX gateway object (XCAPI-SIP-GW) and two gateways (XCAPI-SIP-GW and XCAPI-SIP-GW-PBX). Only one gateway will communicate with the XCAPI via SIP, the other gateway and the gateway object in the PBX are simply for routing purposes between the innovaphone gateway and the PBX.
Creating a Gateway Object in the PBX
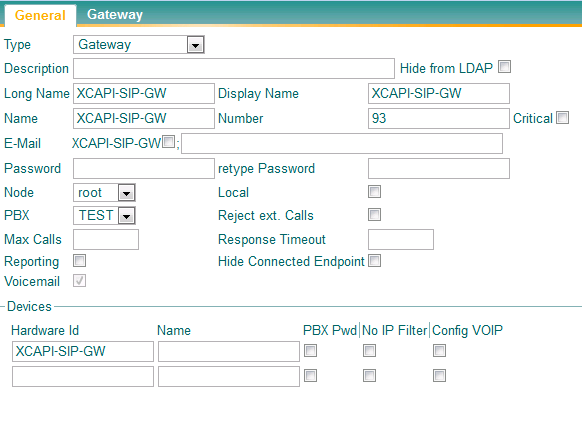
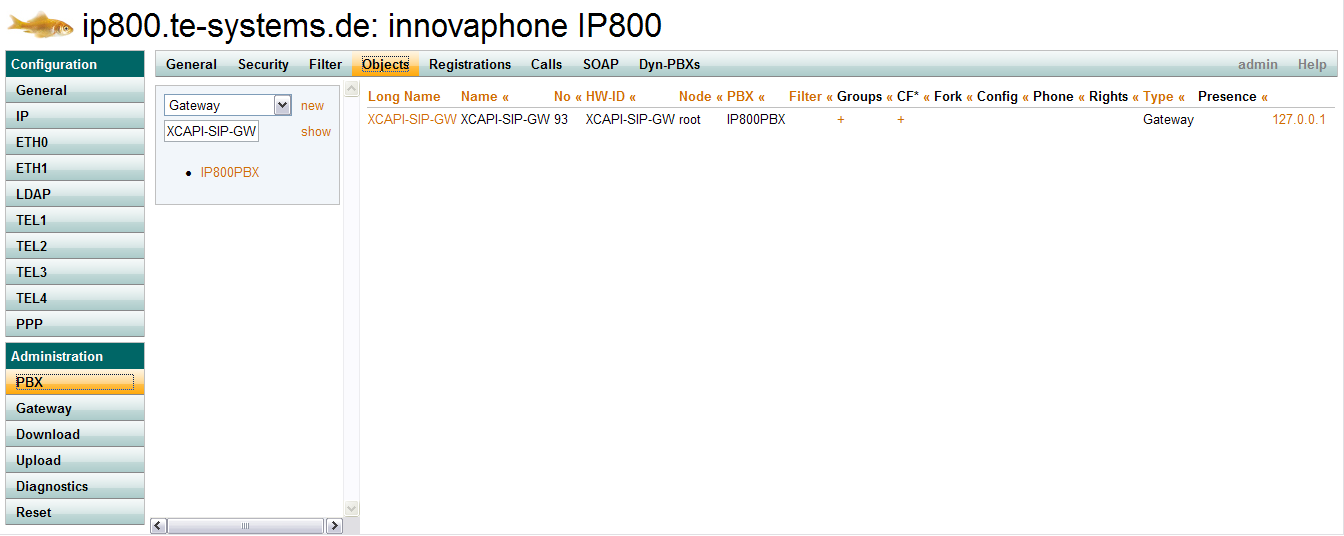
Log in to the PBX administration and create a new gateway object. The name of the object is "XCAPI-SIP-GW", and the number is 93 in this case.
GW4, which we will create later in the gateway configuration, will register itself with this object and enables PBX objects to connect to the gateway with prefix 93.
Creating the gateways towards the XCAPI and PBX
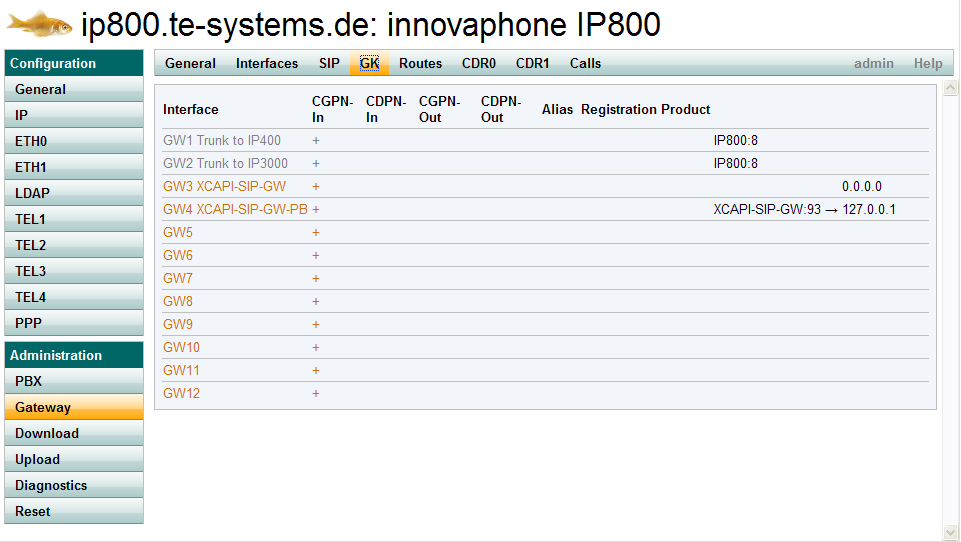
In the gateway administration, we will create two gateways: GW3, which will connect to the XCAPI via SIP, and GW4, which will be used for the outbound routing from the PBX towards the XCAPI.
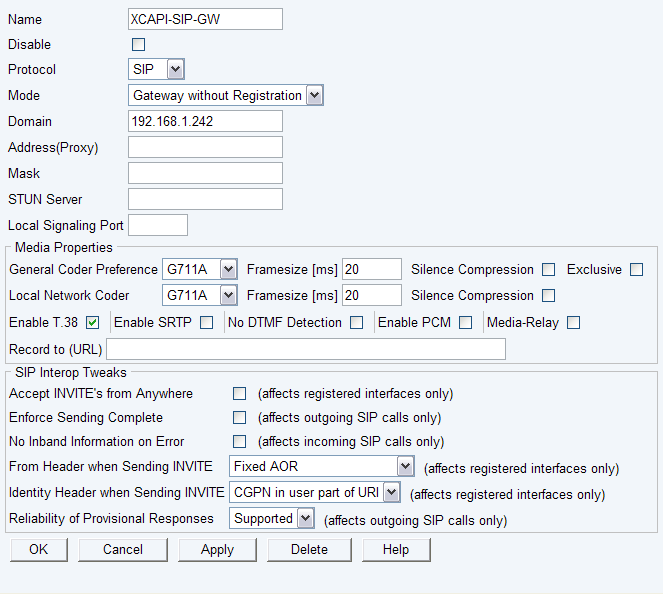
Edit the settings of GW3 to use SIP, Gateway without Registration mode, and enter the IP address of the XCAPI server as Domain. As codecs, we select ITU.T G.711 a-Law with a framesize of 20 ms, and enable T.38 as fax codec. All other settings can use the default values.
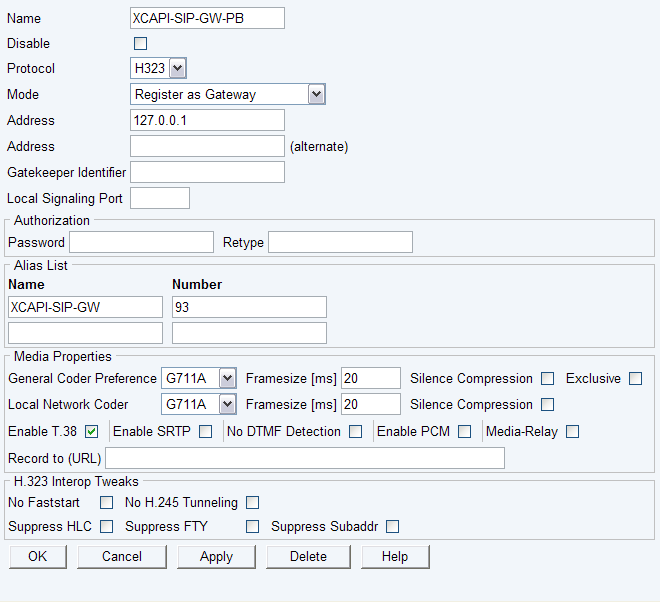
Add another gateway (GW4), but this time, register it with the local PBX. You can do so by selecting H.323 as protocol and Register as Gateway as mode. Enter 127.0.0.1 as Address and the name XCAPI-SIP-GW and 93 as number in the Alias List. This causes this gateway to register with the previously created gateway object in the PBX. This gateway should use the same codec settings as the XCAPI gateway.
Routing to and from the XCAPI gateway
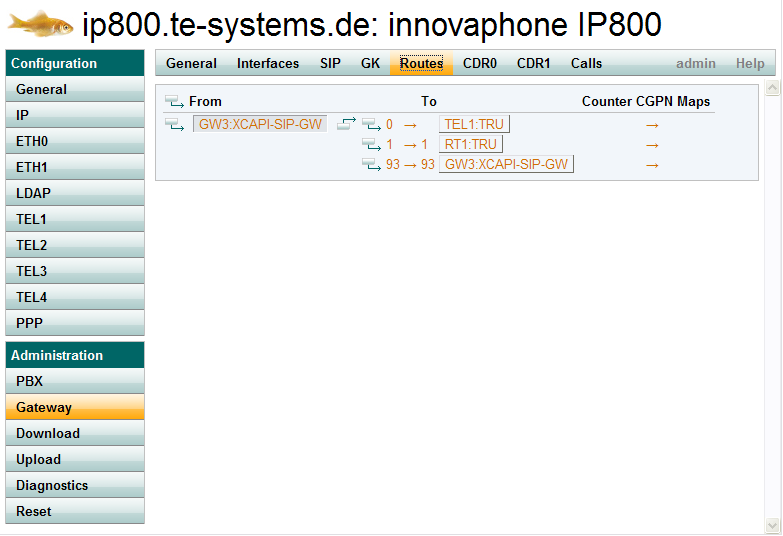
Create routes from GW3 (XCAPI) to all desired destinations (PSTN, PBX, the XCAPI itself if needed). In this example, we use 0 as prefix for PSTN access, 1 for PBX access, and 93 to route calls back to the XCAPI itself (normally, this is only required for testing purposes).
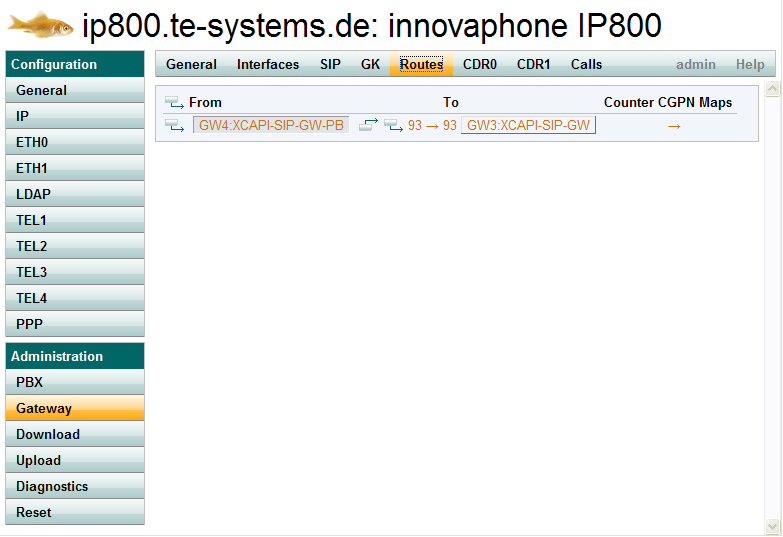
PBX users can access the XCAPI via the XCAPI gateway object in the PBX configuration, but their calls will be routed to GW4 (XCAPI-SIP-GW-PBX). For XCAPI access, we have to add a route from GW4 to GW3 (XCAPI). In this example, we route calls beginning with 93 to the XCAPI gateway.
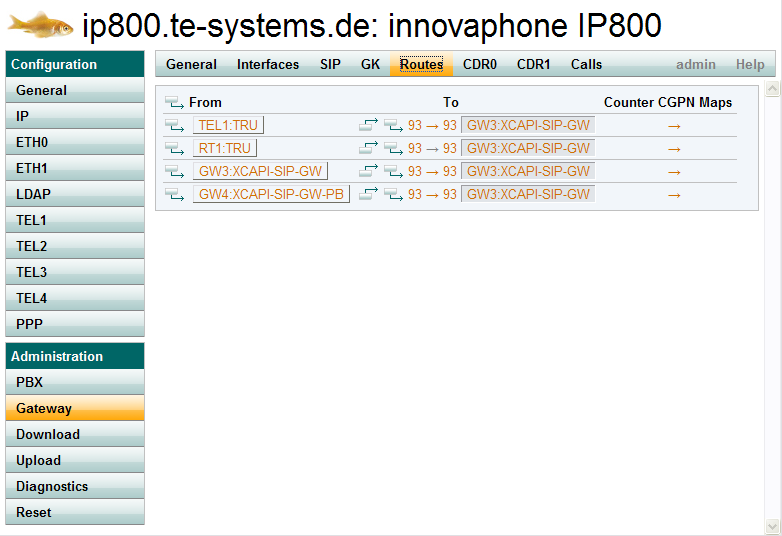
Here is an overview of the routes to the XCAPI. Calls from the PSTN, the XCAPI and the PBX can access the XCAPI via prefix 93.
XCAPI Configuration
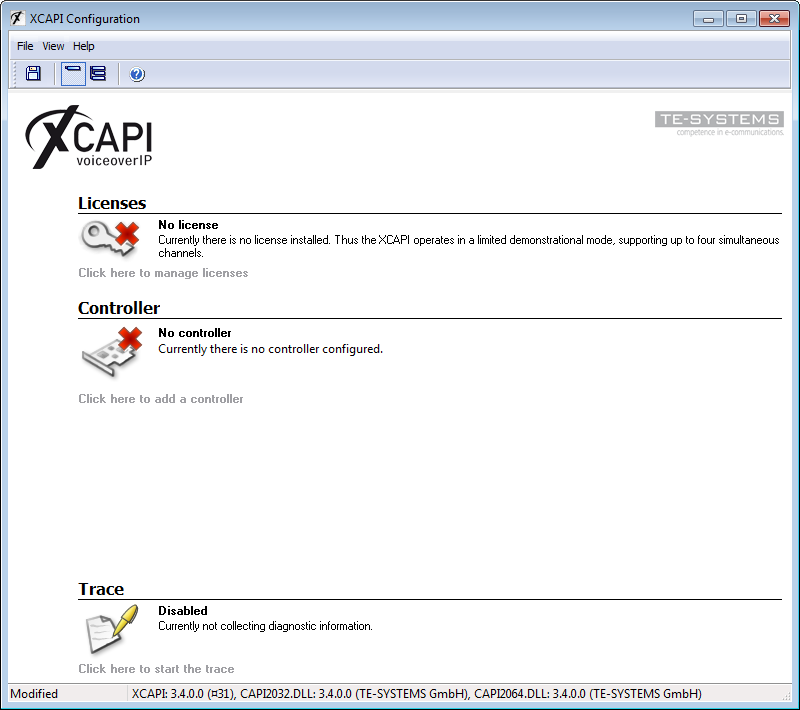
When the XCAPI configuration is started for the first time, there are no configured controllers. Use the link "Click here to add a controller" in the overview page to start the controller wizard.
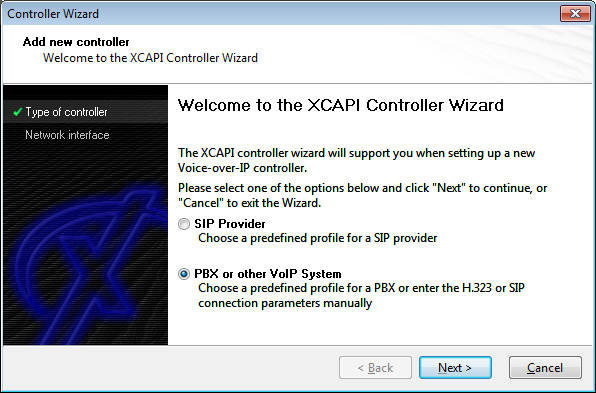
Add new VoIP controller
On the welcome page of the controller wizard, select to add a new VoIP controller.
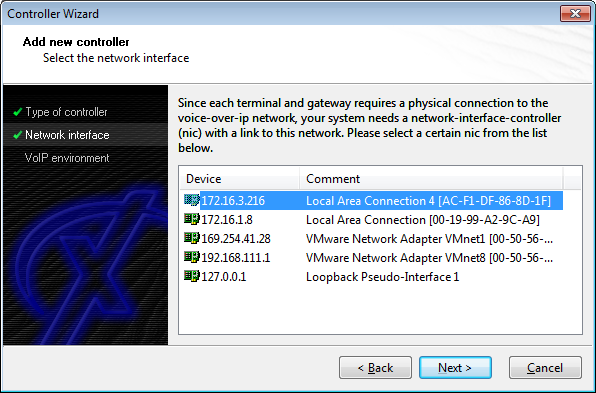
Network Interface
In the next dialog, select the network interface that you want to use for the SIP connection between the XCAPI and the innovaphone gateway.
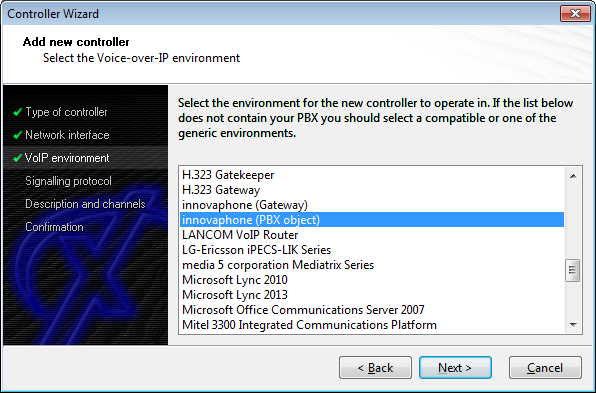
Select VoIP environment template
From the list of predefined VoIP environments, select a generic SIP template.
Provide SIP user information
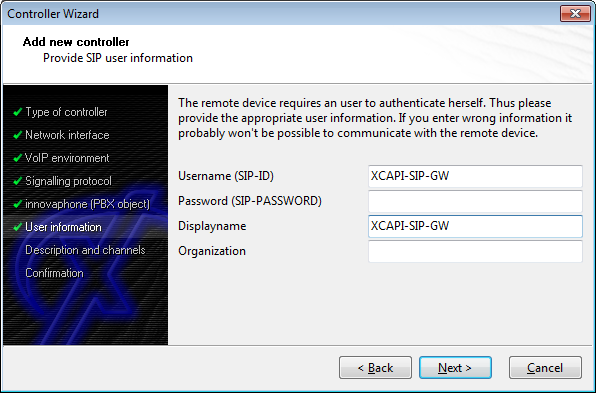
The XCAPI is connected as a SIP trunk (gateway mode), so it is not necessary to enter any user information.
Default SIP domain
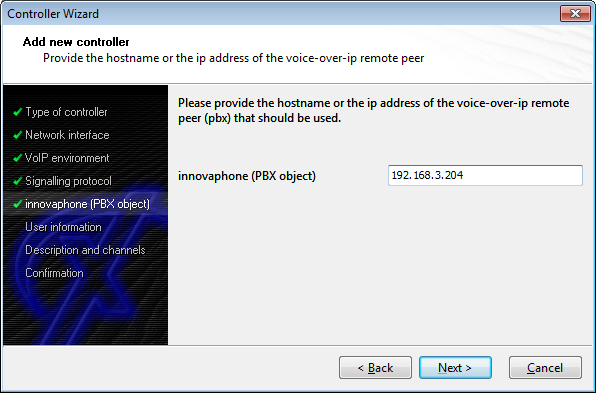
As default SIP domain, please enter the IP address of the innovaphone gateway. Please do not use any configured DNS hostnames because of interoperability reasons.
Registrar and Proxy
It is not necessary to activate the registrar or proxy function.
STUN
STUN functionality is also not required.
Description and channels
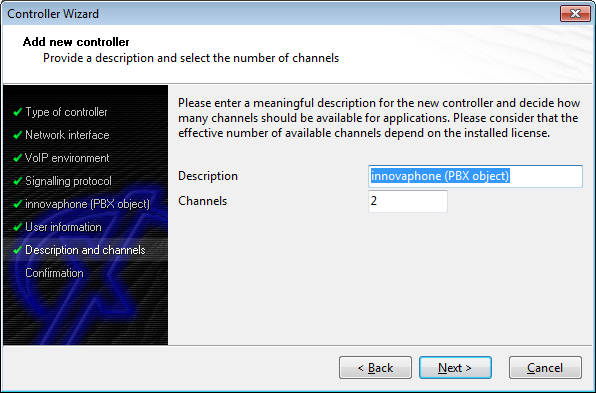
Enter a meaningful description and the number of lines that the XCAPI can use to communicate with the innovaphone gateway simultaneously. In this example, we enter the prefix number (81893) of the XCAPI as the description. This way, we always know which number to dial if we want to call the XCAPI. 818 is the trunk number of the PSTN access while 93 is the prefix from the innovaphone gateway routing.
Confirmation
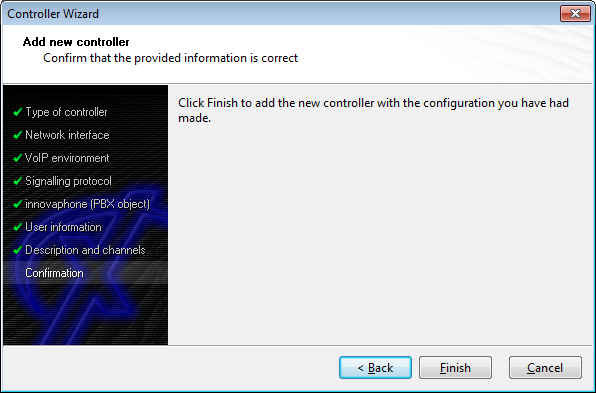
Check if all necessary information has been entered correctly (green symbols on the left) and confirm all data by clicking Finish.
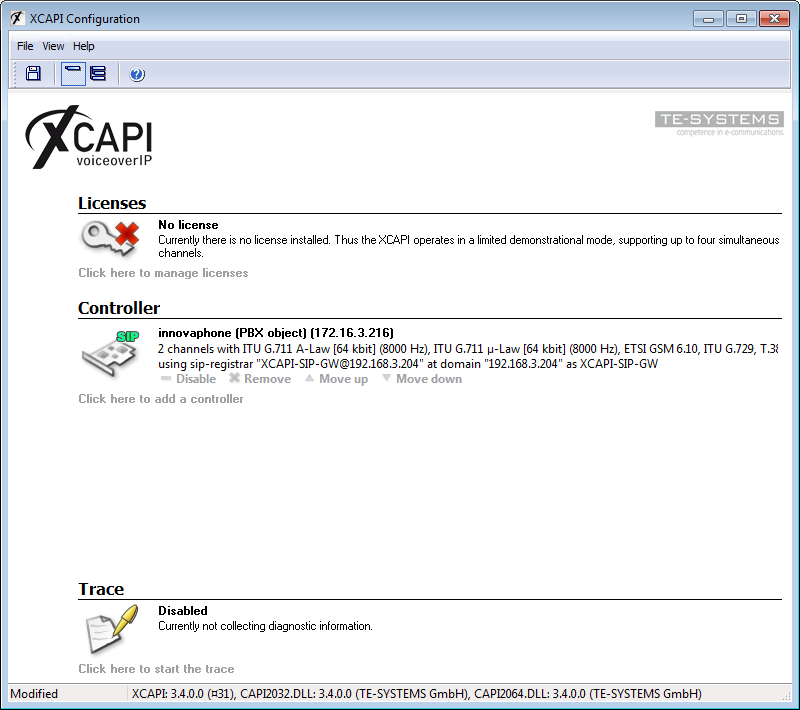
The new controller appears in the XCAPI configuration. Save the changes and stop all running CAPI applications before restarting them.
Configuration Video Guide
- Here are some video guides how to configure XCAPI with Innovaphone in 4 modes with V9 PBX and XCAPI version 3.3.226.0.
Video of H.323 Gateway configuration with XCAPI
Video of SIP Gateway configuration with XCAPI
Video of H.323 PBX Registration configuration with XCAPI
Video of SIP PBX Registration configuration with XCAPI
