Howto13r1:Hosting - Central AP for multiple customers: Difference between revisions
No edit summary |
No edit summary |
||
| Line 149: | Line 149: | ||
Start instance | Start instance | ||
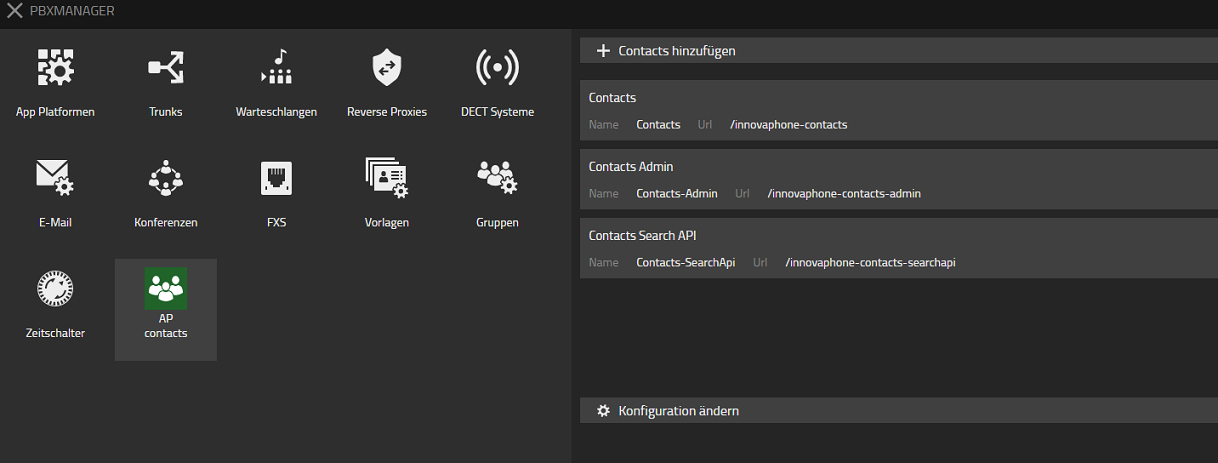
add Contacts, Contacts-Admin and Contacts-SearchApi | |||
[[Image:Contacts3.png]] | |||
12. Create App instances (for every customer and App you need) | |||
12. Create Apps with PBX Manager (for every App you need) | |||
12. Create Apps with PBX Manager | |||
13. Create templates (Admin and User) with Visibility, Apps and Licenses. | 13. Create templates (Admin and User) with Visibility, Apps and Licenses. | ||
14. Configure Device | 14. Configure customers PBX / Device. | ||
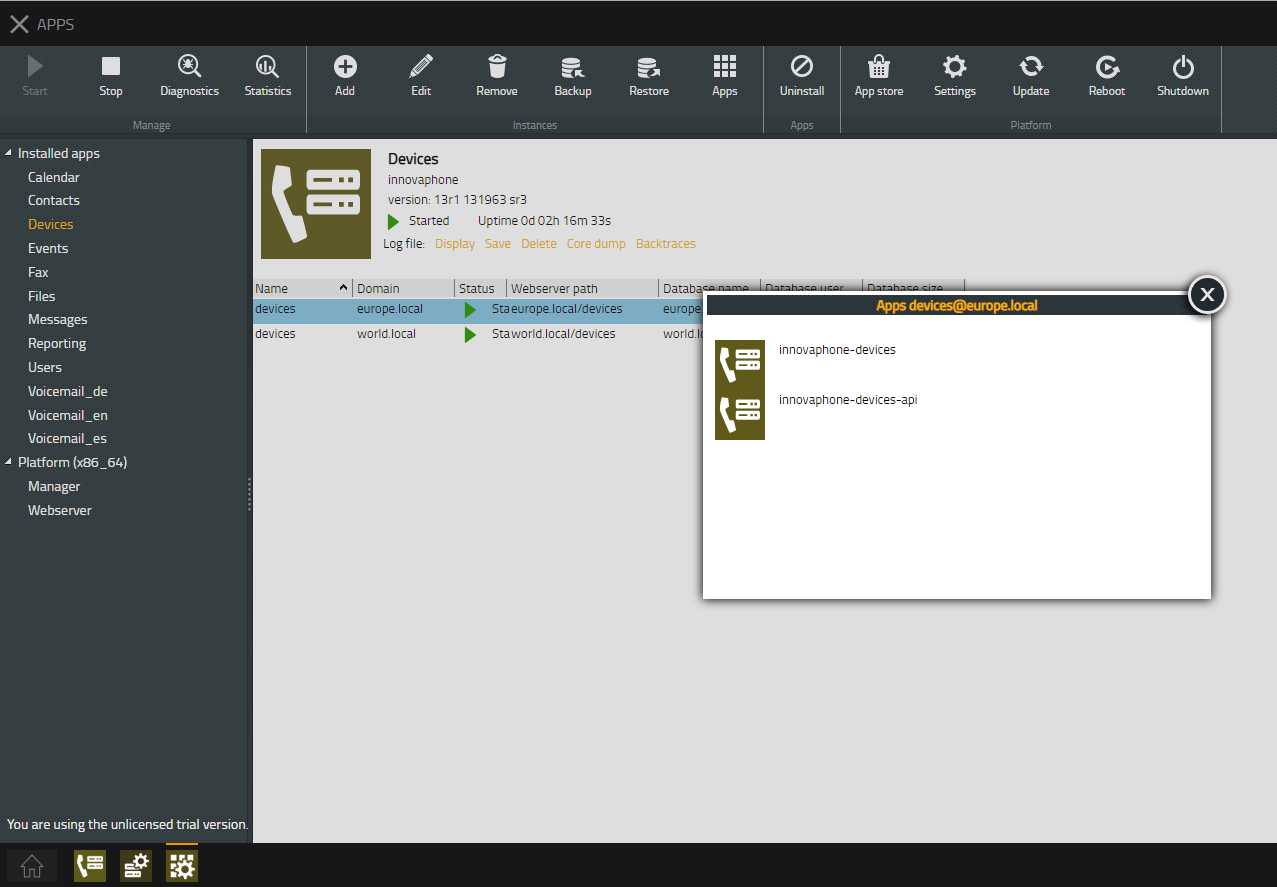
You can open an App via your Apps App | You can open an App via your Apps App | ||
Revision as of 12:51, 26 July 2019
Applies To
This information applies to
- V13
More Information
This article is still in progress !!!
Problem Details
Setting up various PBX for many customers using only one AP
System Requirements
Virtual Machines (HyperV, VMWare) or Physical Devices with SSD.
Installation
Setup your first PBX with Application Platform as usual.
In my case I used:
PBX Name: hq
System Name: world.local
DNS PBX: hq.world.local
DNS App Platform: apps.world.local
Configuration
1. Now you install a second PBX. Every customer receives his own Master PBX.
Therefore choose either "Do manual configuration" or "Update and network settings only"
In my case I used:
PBX Name: stuttgart
System Name: europe.local
DNS PBX: stuttgart.europe.local
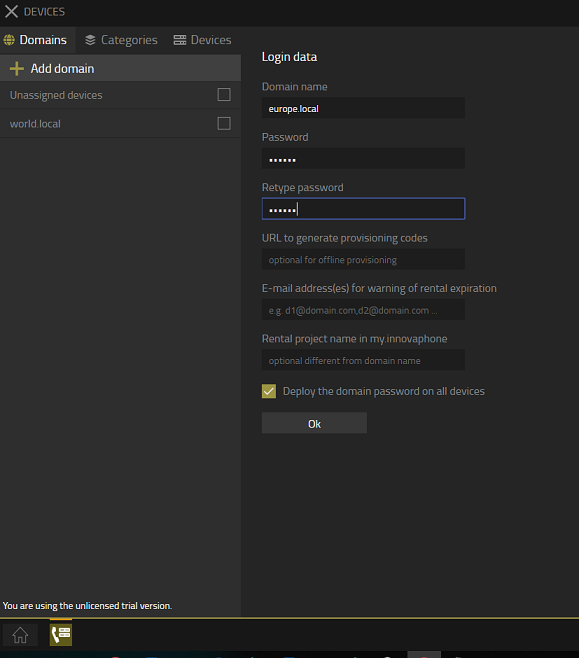
2. Log into your first PBX (hq.world.local) and open Devices. Add Customer Domain (stuttgart.europe.local). Choose a password (will be used as admin password).
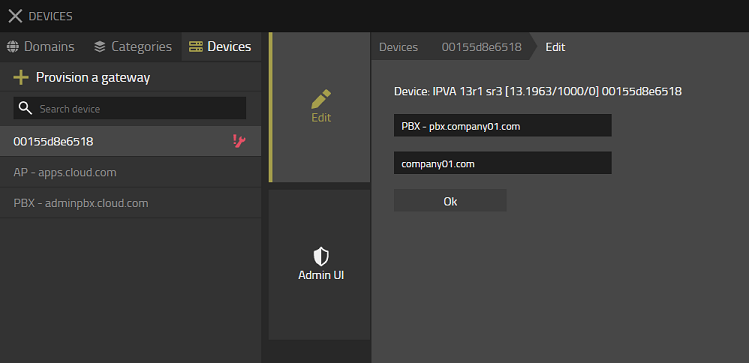
3. Connect to your new PBX (stuttgart.europe.local). Insert Device Registration URL
4. Go back to your main PBX (hq.world.local). Open Devices App. You see the MAC of your new device
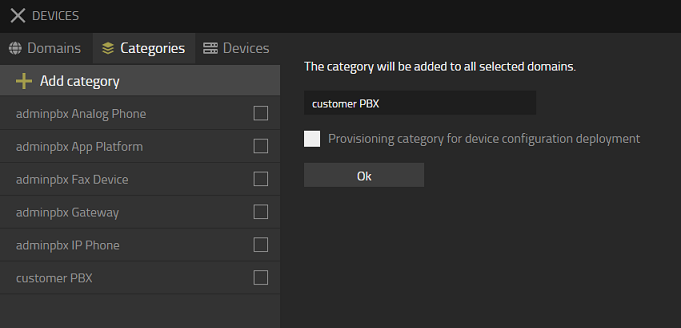
5. Assign category to device
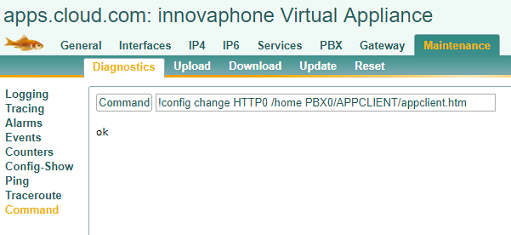
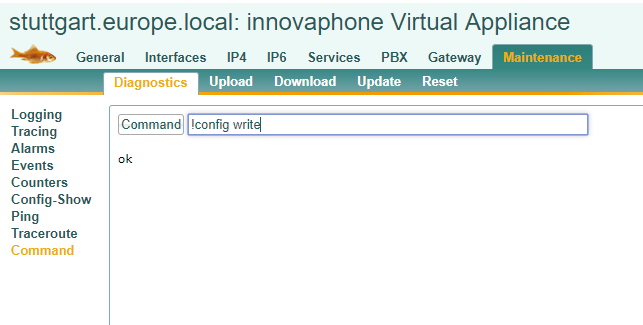
6. Set redirection from PBX Advanced GUI to myApps Therefore go to your new PBX. Afterwards if you insert your DNS you get redirected to myApps directly.
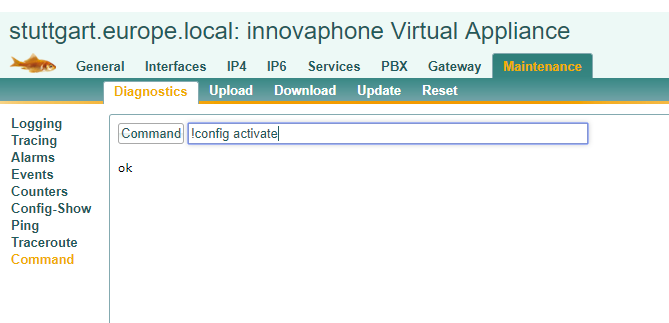
7. Activate PBX and create admin user for new PBX. Therefore open Devices App and create a new User via Advanced GUI.
8. Assign Apps to User (inside Userobject)
8. Log into myApps. Please use HTTPS.
Therefore use your new DNS. In my case stuttgart.europe.local
9. Connect App Platform.
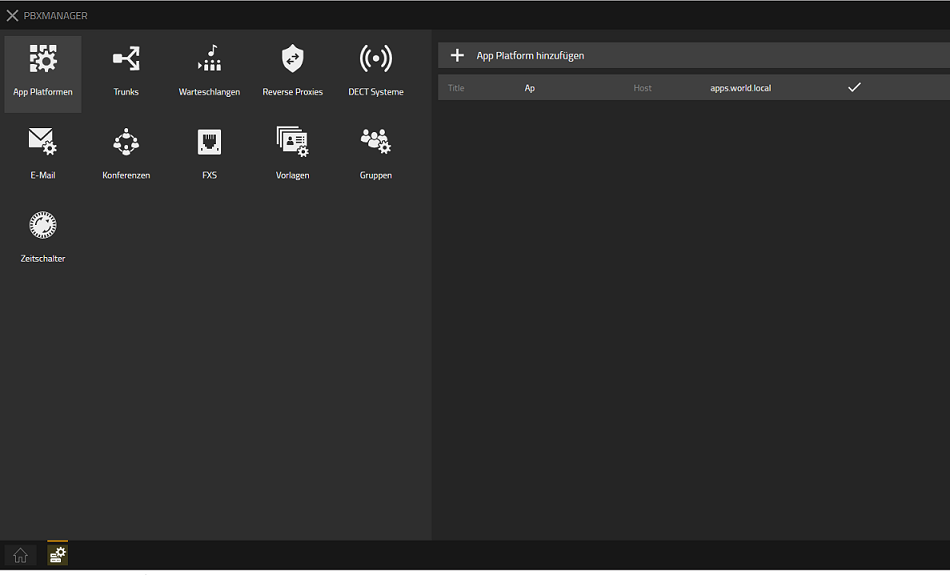
Open PBX Manager
Add App Platform. Use Host of your AP Platform.
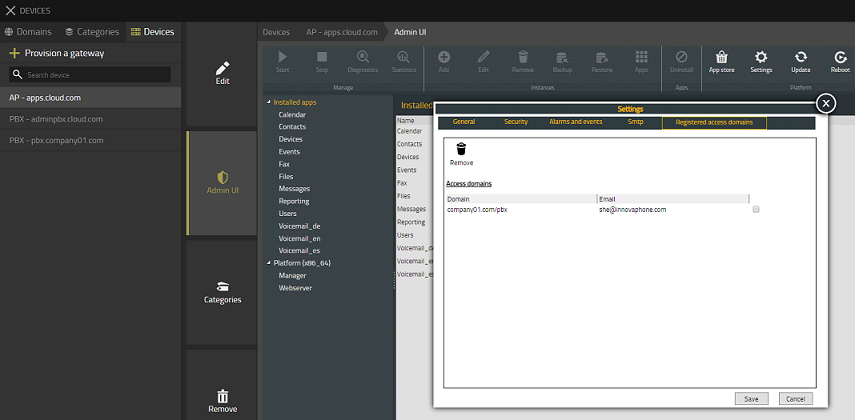
Now you can see in your Apps App that the Domain is registered:
Verify received eMail and check that App Platform is connected.
10. Create two new App objects on your new PBX via Device/Advanced GUI.
1. Object
Devices:
Long Name: Devices
name: devices
Critical activated
Hide from LDAP activated
Example URL: https://apps.world.local/world.local/devices/innovaphone-devices
Websocket activated
2.Object
Devices:
Long Name: DevicesApi
name: devices-api
Critical activated
Hide from LDAP activated
Example URL: https://apps.world.local/world.local/devices/innovaphone-devices-api
Websocket activated
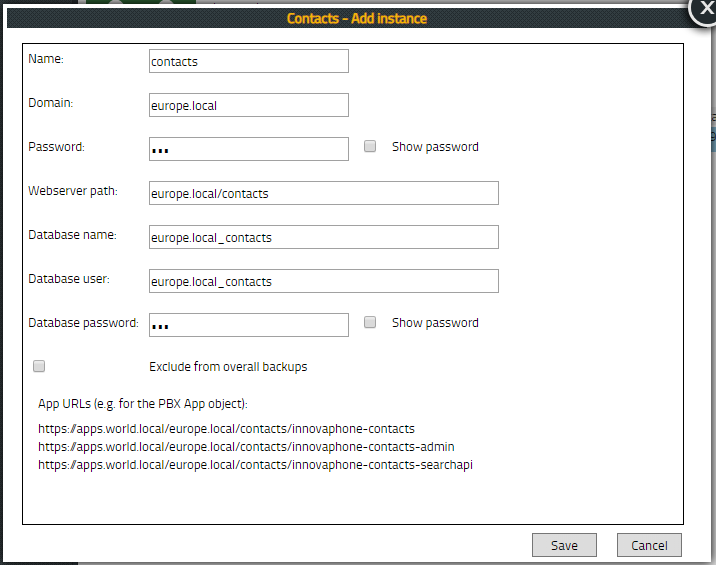
11. Create new instance of needed App Example: contacts
Start instance
add Contacts, Contacts-Admin and Contacts-SearchApi
12. Create App instances (for every customer and App you need)
12. Create Apps with PBX Manager (for every App you need)
13. Create templates (Admin and User) with Visibility, Apps and Licenses.
14. Configure customers PBX / Device.
You can open an App via your Apps App
