Howto14r1:Install Contact Widget App: Difference between revisions
| Line 62: | Line 62: | ||
Next step is to add one or more agents to the widget to handle the incoming calls and to be shown in the widget on your website. | Next step is to add one or more agents to the widget to handle the incoming calls and to be shown in the widget on your website. | ||
Click on the “Agents” button to the right from settings. | Click on the “Agents” button to the right from settings. | ||
[[SidebarAgents.PNG]] | [[image:SidebarAgents.PNG]] | ||
Click on the “Add Agent” button | Click on the “Add Agent” button | ||
Revision as of 11:43, 2 February 2024
This article explains all the necessary steps to install the Contact Widget App and to configure a sidebar widget.
General Consideration
The Contact Widgets App is new in firmware V14r1. Also new in V14r1 is the “AP app installer” plugin in the PBX manager. This guide is written for a 14r1 PBX and a 14r1 AP(App Platform) and the use of the app installer plugin. Installation is also possible from the AP itself, but is not covered in this wiki. For all older versions, please upgrade first to V14r1 latest firmware.
Installation
Go to the PBX manager and open the AP app installer plugin. In the right pane, the App Store will be shown.
- Choose All Apps
- Click in innovaphone AG
- Scroll down to the Contact Widgets App and click on it
- Select the proper firmware version
- Click on Install and accept the terms of use and continue with a click op install
- Wait until the install has been finished
- Refresh the view of the PBX manager to show the new installed AP widgets
- Click on the AP widget and click Add an App
- Enter the name of the Wiget Object e.g. Widget and the SIP widget and enter the PBX name
- Tick in Licenses Video if you want to enable Video calls in the Widgets
- You can enter the maximum amount of acquired Widget Licenses that this Object is allowed to consume. This License enables and advertisement free version of the widgets
- Tick the appropriate template for the User(s) that will use the Contact Widget App
- Click OK to save the settings and a green checkmark will be shown
Add the Contact Widget App to your myApps homescreen
Add the Contact Widget App to your myApps homescreen, by clicking on the All Apps icon at the right bottom, search for the Contact Widget App and click on the home symbol of the Contact Widget App.

On your myApps homescreen open the Contact Widget App.

Configure a sidebar widget
In the Contact Widget App you have the option to add a widget from the type Sidebar and/or Cardset. In this wiki we will only show how to add the widget of type sidebar.
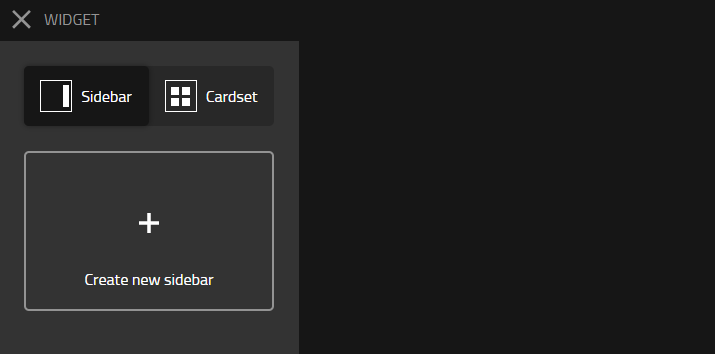
Choose your preferred Website widget and add by clicking on the button “create new sidebar”
A new Sidebar widget is created with the default name “New Sidebar Widget”
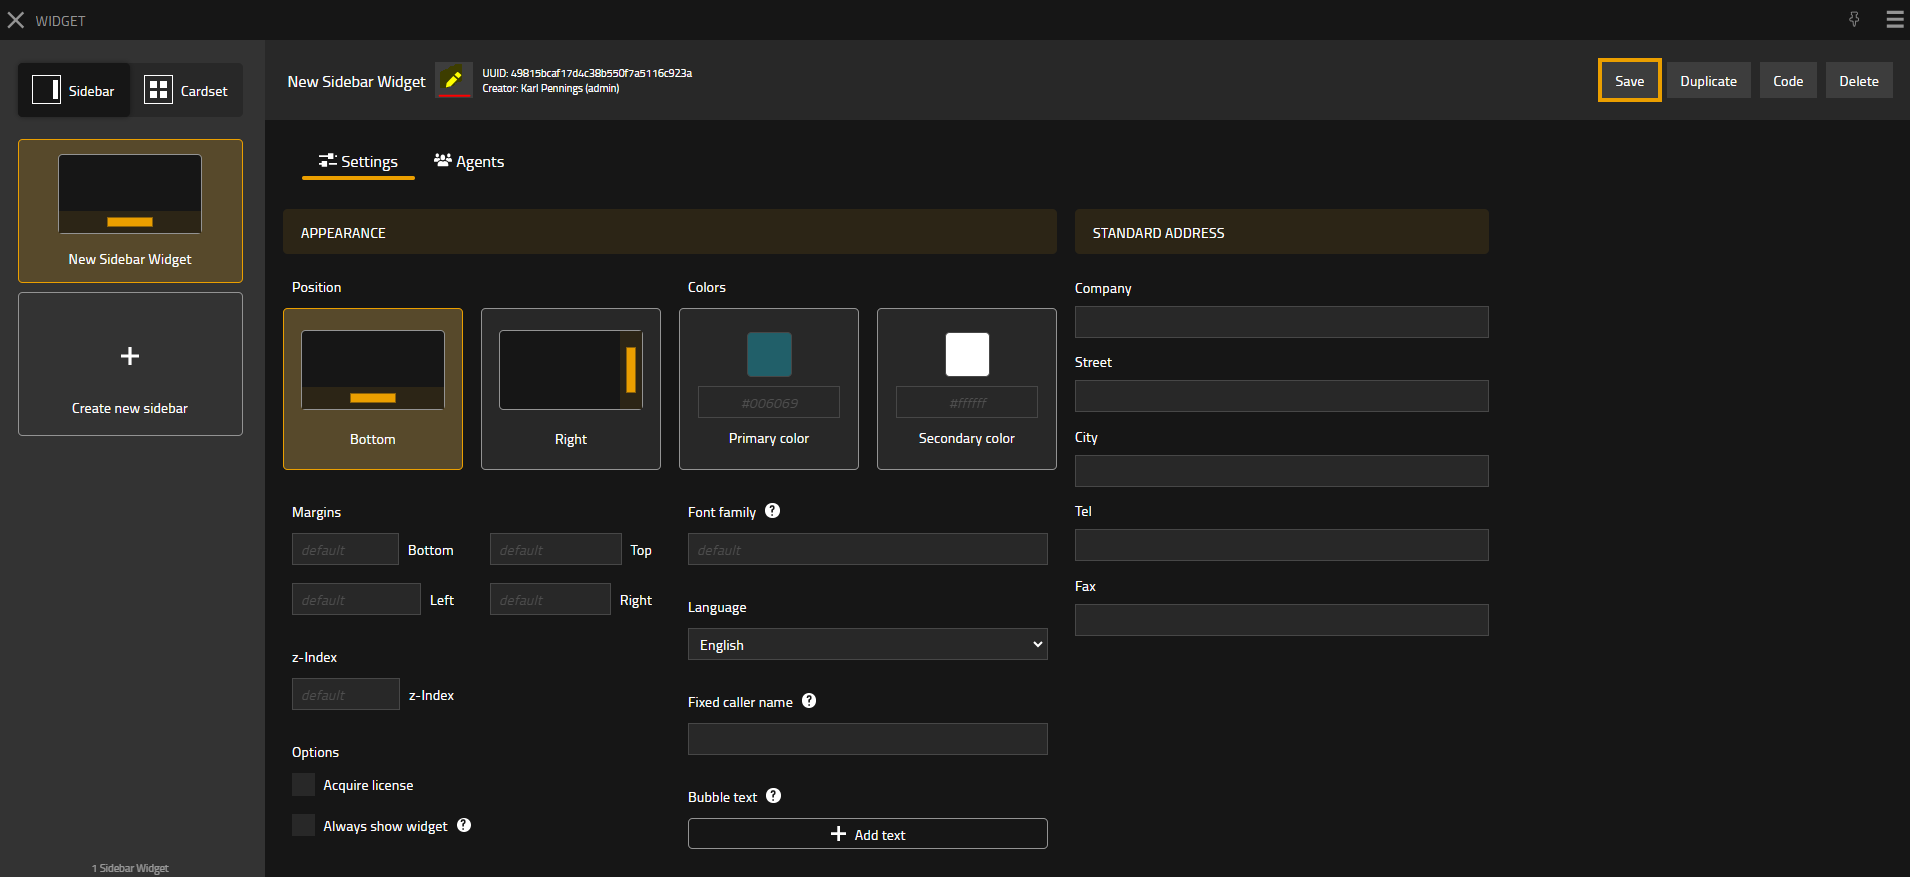
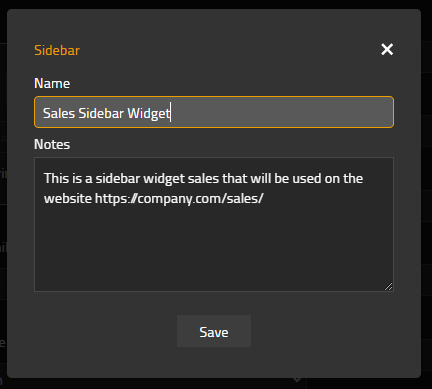
Click on the pencil icon next to the name to change the name to an appropriate name.
In the notes field, you can add some additional notes. It might make sense to add the URL of the website where this widget will be used.
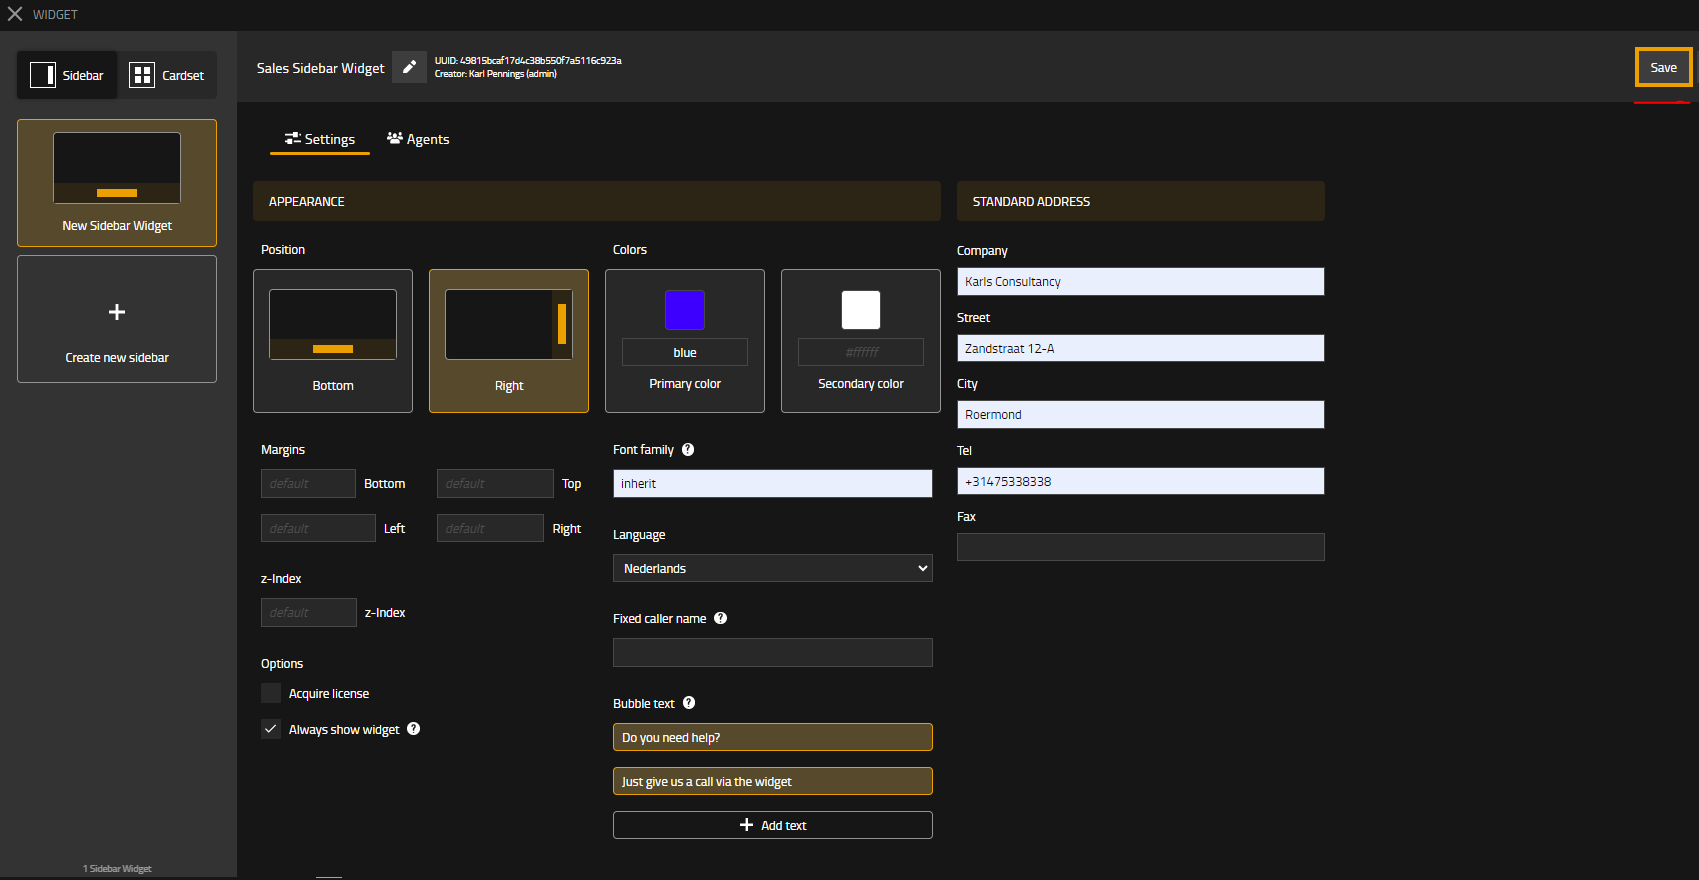
Configure the general widget settings
Configure the other settings in the section, Appearance (Position, Color, etc.) Configure a standard location address Click on the ? symbol for tooltips and consult the Concept_Contact_Widgets for further details and options.
Once all desired fields are filled out, don’t forget to click on the SAVE button in the top right.
Every change/edit will show an orange rectangle around the save button.
The change needs to be saved and will be immediately visible once the widget code is implemented on your website
Add agents to the widget
Next step is to add one or more agents to the widget to handle the incoming calls and to be shown in the widget on your website.
Click on the “Agents” button to the right from settings.
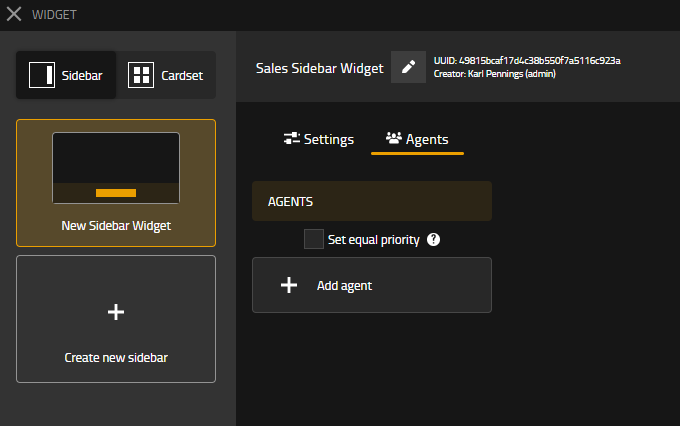
Click on the “Add Agent” button

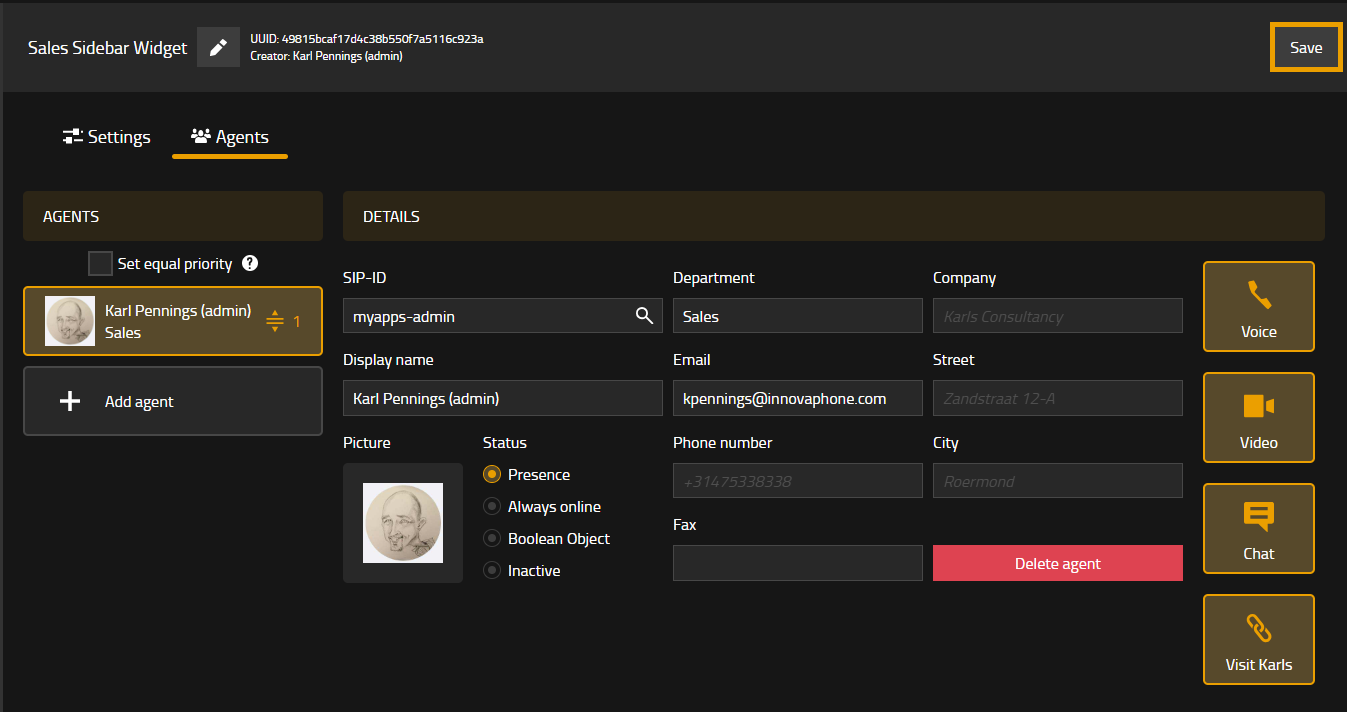
Add the Agent's SIP-ID or click on the search icon to find and add an agent. Enter additional address and information if this differs from the settings field.
Select how the agent can be contacted, Voice, Video, Chat and optional a link to a website with opening hours or calendar website etc.
Select the type of status how the agents' availability should be shown.
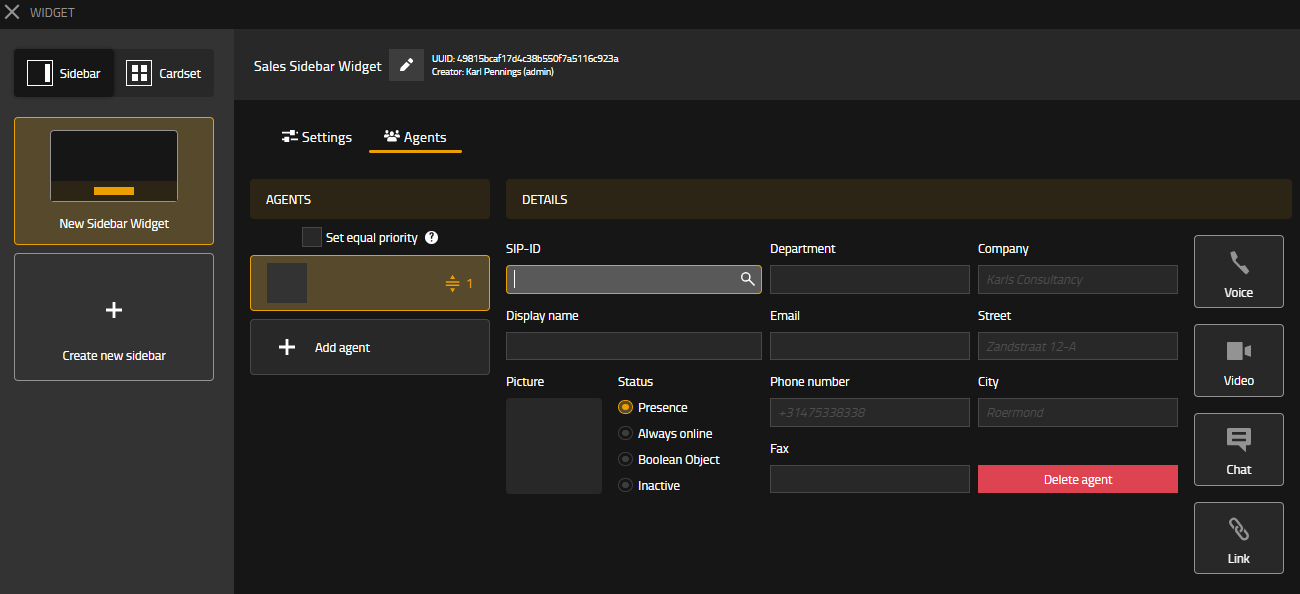
Once all the details are filled out, click save again
Copy source code to website
Next step, you can copy the website widget code from this widget and implement it on your website. Click on the “Code”button.
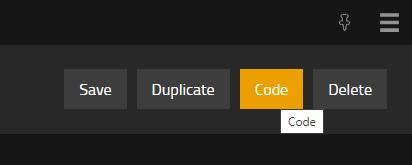
Download or copy the code from the pop-up window.

For test purpose, you can save the code as HTML file on your local PC and open it.
A blank website including the widget will be shown and can be tested.
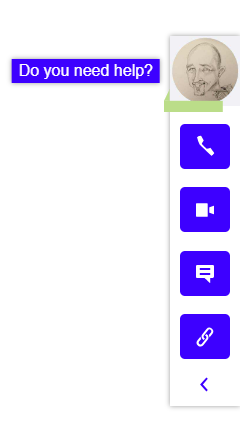
Integrate this code on your website and you are ready to go and use the widget on your website.

